Aleo is a new layer-1 blockchain platform for creating scalable and private applications applying zero-knowledge cryptography. Aleo uses a hybrid consensus architecture named AleoBFT, which leverages PoS to achieve instant finality for block confirmation, and leverages PoW “coinbase puzzle” that rewards the development of faster techniques for proof generation.
To Learn about the requirements and configuration, please refer to the following steps.
Previous testnet (Aleo Testnet 3 or incentivized testnet) mining details can be found on the f2pool website under “ALEO TESTNET3” or “ALEO STAGING”. Mainnet can be viewed under “ALEO”.
1. Obtain suitable hardware and software
For hardware:
Mine Aleo with ASIC miners(AEBOX, AEBOX PRO, and so on) or NVIDIA GPU devices at f2pool.
For software (using NVIDIA GPU):
You will need to use CUDA 12.0 or above, and a GPU driver version 525 or higher.
You need to get the Ubuntu 18.04 or higher operation system ready, and install this mining software (download). Alternatively, you could choose using HiveOS.
Mining software updates frequently in the early stages. Stay on top of updates and always use the latest version to optimize your mining performance and maximize your rewards.
2. Sign up for an f2pool account
You will need to create an f2pool account before mining Aleo. If you do not have one yet, please click here to register.
Setting an account name will be required for configuration. You are free to create multiple subaccounts to monitor your mining machines.
3. Obtain and add payout address
You will need to get a wallet address if you do not have one already. An ALEO wallet address is required for you to receive your mining rewards.
You will need to get a payout address to collect your mining rewards. You can add or change your payout address in your Payout Settings.
f2pool distributes mining rewards on a daily basis to every user who reaches the payout threshold, which is 3 ALEO. f2pool’s payout scheme is 1% PPLNS.
You may choose a wallet app such as FoxWallet and Leo Wallet, or use a wallet from an exchange such as Coinbase or Gate. Note: You should always do your own due diligence when choosing a wallet provider or exchange.
4. Configure mining devices
1) For ASIC miners
URL: aleo.f2pool.com:4430
Miner name: accountname.workername
Password: x
Please note that the URL “aleo.f2pool.com:4430” is applicable only to Goldshell ASIC miners. Additionally, Goldshell ASIC miners for ALEO (AEBOX and AEBOX PRO) currently support only TCP URL format.
For IceRiver ASIC miners, please use this dedicated URL:
stratum+tcp://aleo.f2pool.com:4400
2) For GPU miners
a. Ubuntu
Download and extract the latest Ubuntu version of mining software. Next, you will need to execute the commands on Ubuntu.
sudo ./aleo_setup.sh -p stratum+ssl://aleo.f2pool.com:4420 -w accountname.workername
The “-d” option is used to enable GPUs. For example, “-d 0” enables one GPU with index 0, “-d 0,1” enables two GPUs with indices 0 and 1, and so on.
Before you start:
Ensure to replace accountname with the name of your f2pool account.
Also, you will need to create a customized worker name and assign it to workername.
This workername will function as your miner ID. Feel free to customize it as per your needs. For ease of use, we recommend keeping it within 15 characters, using a combination of lowercase letters or numbers.
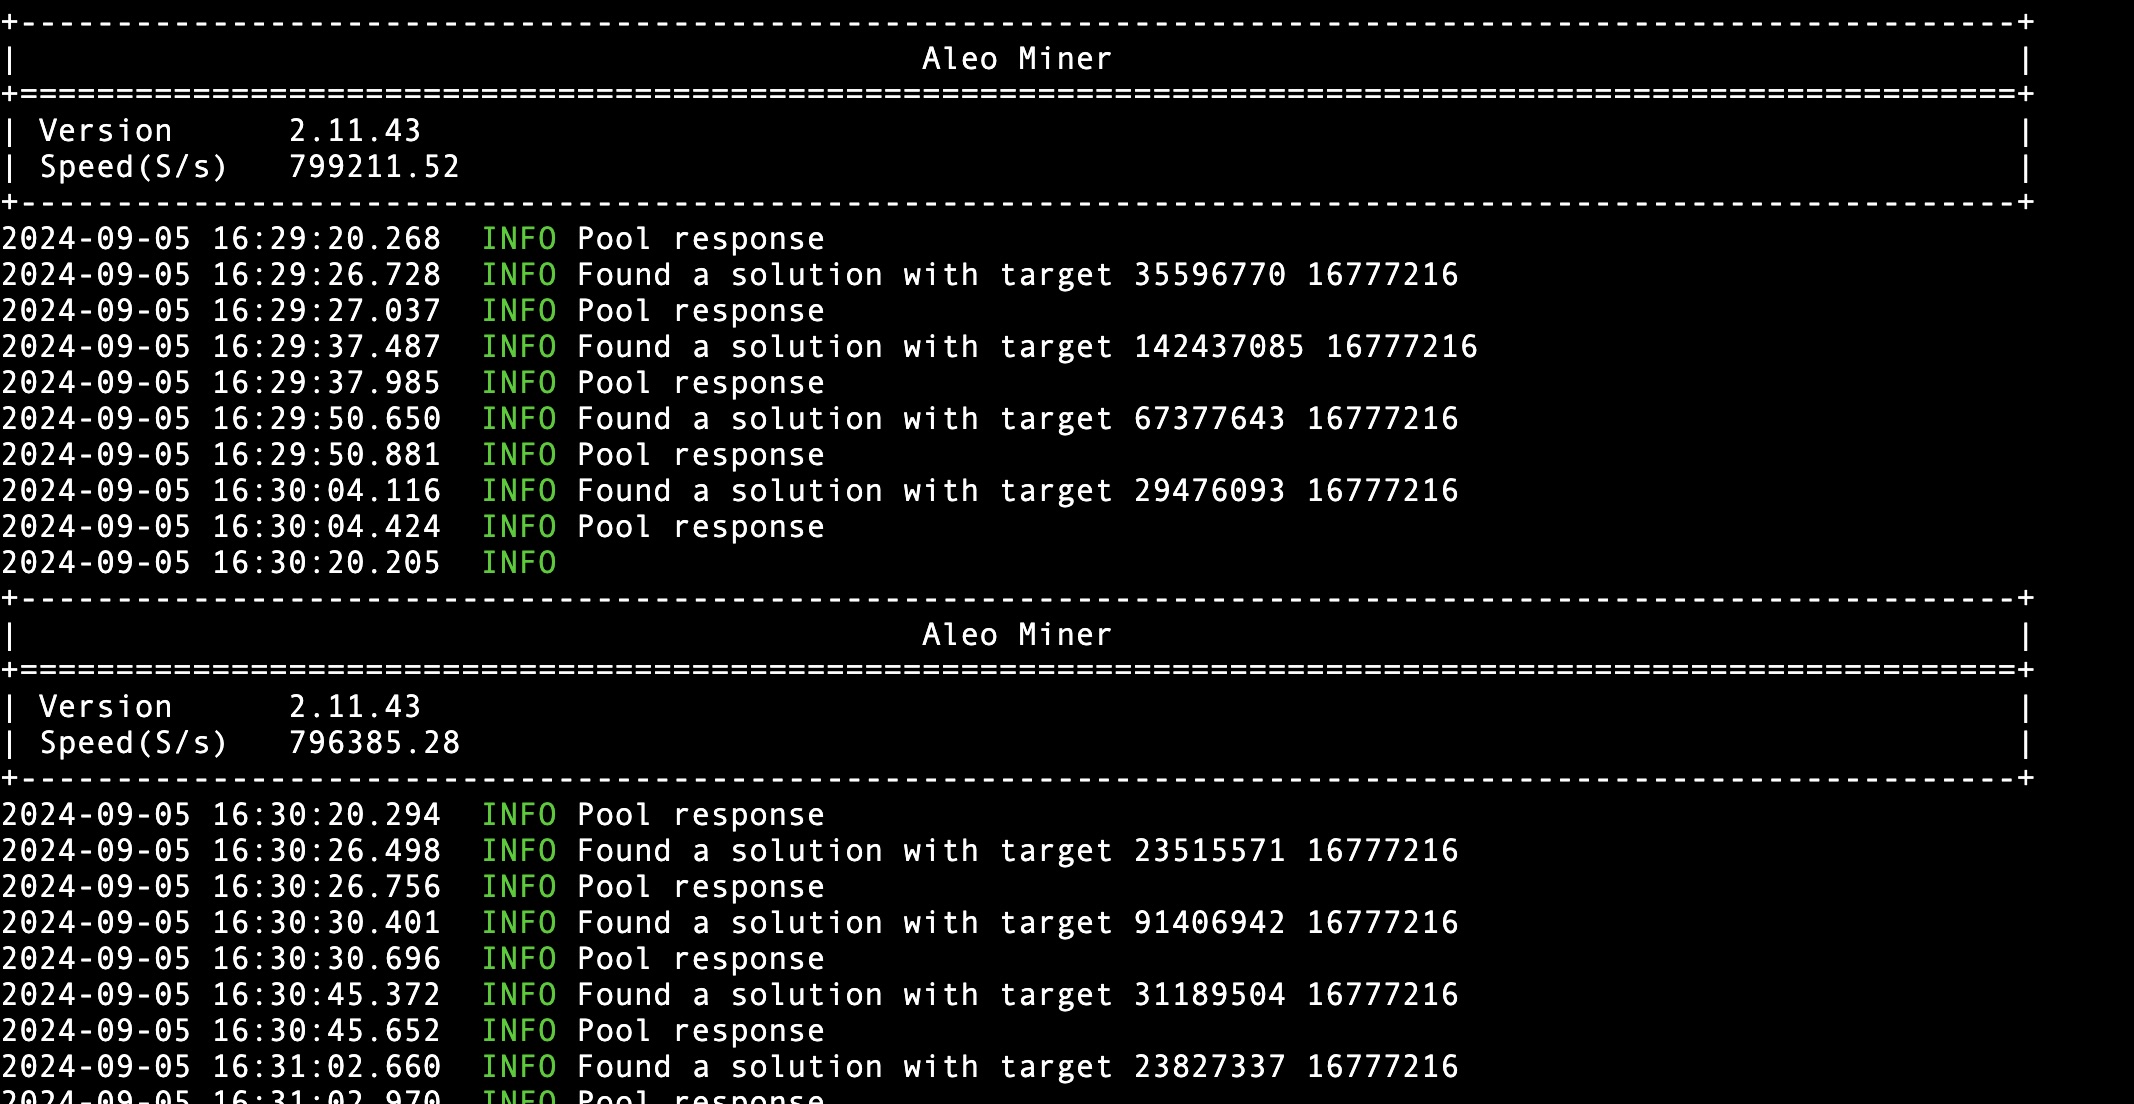
If you see the following information in aleominer.log about three minutes after executing the above commands for 3 minutes, it indicates that the program is running successfully.
There are the essential commands for managing your Aleo mining process listed below, you could use these commands as needed:
To stop mining:
sudo ./stop_aleo.sh
To manually start mining:
sudo ./start_aleo.sh
To check the miner log:
tail -f aleominer.log
To uninstall aleominer:
sudo ./aleo_setup.sh -u
b. Windows
Download and unzip the latest Windows version of the mining software, click on the batch file “aleo.bat”, select “Edit”, and set the parameters as follows:
aleominer -u stratum+ssl://aleo.f2pool.com:4420 -w accountname.workername
Before you start:
Ensure to replace accountname with the name of your f2pool account.
Also, you will need to create a customized worker name and assign it to workername.
This workername will function as your miner ID. Feel free to customize it as per your needs. For ease of use, we recommend keeping it within 15 characters, using a combination of lowercase letters or numbers.
After configuring the settings, save and exit the file. Then, double-click the aleo.bat file to start mining.
c. HiveOS
If you choose to use HiveOS, configure in the Wallets tab and create a Flight Sheet by following these steps:
1. Navigate to the Wallets tab and input your f2pool account name in the designated wallet address field. Please note that you cannot directly add an ALEO wallet address here.
2. Within the flight sheet configuration interface, locate the wallet option. From the dropdown menu, select the wallet configuration you established in step 1.
3. In the Miner section of the flight sheet setup, choose “Custom”.
4. In the Miner section of the flight sheet setup, click “Setup Miner Config”. Then A new window will pop up, allowing you to input specific mining parameters. For detailed instructions, refer to this file. Once configured, click “Apply Changes” to save your settings.
5. Return to the main Flight Sheets interface and select “Create Flight Sheet” to finalize your mining configuration.
6. Then you could apply this Flight Sheet for your miners to start mining ALEO.
You can use “Web Shell” to Check the mining logs, the command is as follows:
tail -f /hive/miners/custom/aleominer/aleominer1.log
Additionally, you can use the following command to uninstall the previous version of the mining software from HiveOS:
rm -rf /hive/miners/custom/downloads/a* && miner restart
Back up pool URL:
stratum+tcp://aleo-asia.f2pool.com:4400 (The back up pool URL is only available for aleominer 3.0.6 and earlier versions.)
5. Start mining!
Your machines are now ready to mine! You can manage your account settings and monitor your hashrate, rewards and so on in your dashboard or in our f2pool app.
If you run into any problems mining Aleo, please feel free to reach out to our customer service team at [email protected], open a support ticket, or start a conversation on Reddit.
To stay updated with the latest PoW news and developments, follow us on X!
Happy mining!